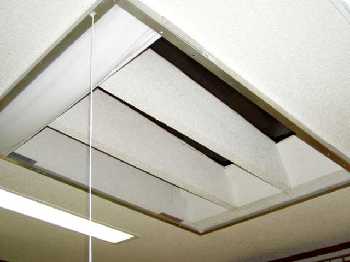
When it comes to brightening up a room, nothing beats a skylight. Natural, abundant light shining in making everything bright and cheery. But skylights also have their drawbacks. During the summer they can let in a lot of heat making your air conditioner work harder. And during the winter they are a great place for heat to escape. I love the light my skylights create, but I wasn’t sure they were worth the extra utility costs until I came up with a clever insulated cover that allows the light to still shine through.
Basically what I did was hang an insulated window blind over the skylight. Even when closed, the blind lets light through but provides an insulating factor to keep the hot summer sun out and the winter heat mostly in. The blind can be opened if you wish to enjoy the natural skylight, but opening and closing my home-made version isn’t the easiest, so I normally just leave it closed (i.e. skylight covered). You can buy special blinds specifically designed for skylights that open and close easily, but they are spendy so I’ll show you my own ‘cheaper’ version.
Two Types of Blinds
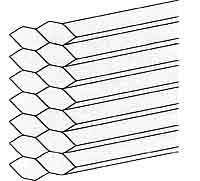
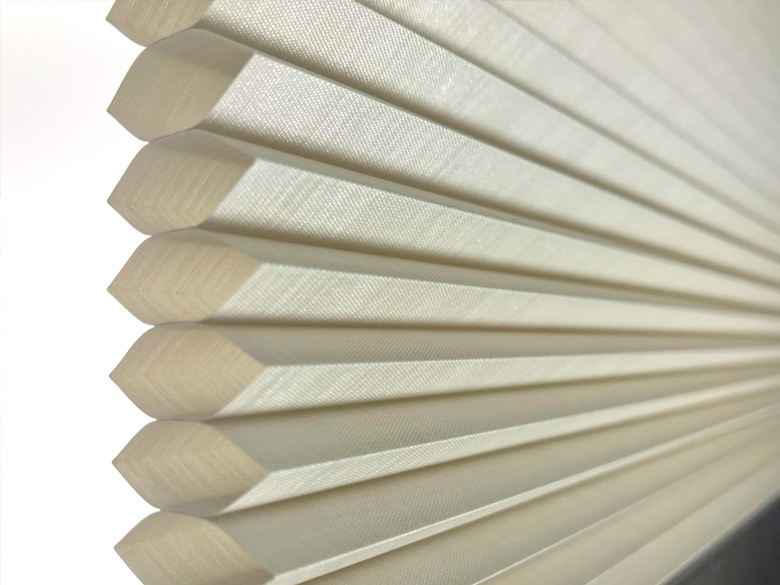
When shopping for insulated blinds, you’ll discover two types. One is a single-cell blind, and the other is a double-cell blind. Both have kind of a honey-comb shape to them. I used a single-cell for mine because it was less expensive and let more light through. The double-cell is more expensive but would provide more insulation. I bought regular white blinds which matched my white ceiling and would probably let in more light than colored blinds. Illustrated to the right is a double-cell blind.
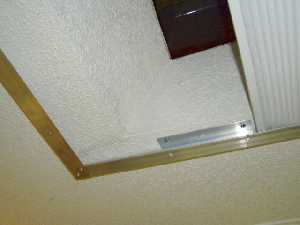
Aluminum Track

I held the blind up to the skylight with an aluminum track. I chose aluminum because it’s lightweight, won’t rust and already a nice silver color. Your track could be made out of metal and painted if so desired. I bought 1-1/2″ L-shaped aluminum and made a box the right size to fit over the skylight. I also took into consideration where I would be mounting the track and made it such a size so the mounting screws would find wood. I fastened the track together using rivets for neatness and to keep it smooth on the inside for opening and closing the blind.
Then I built mounting brackets out of scrap pieces of the L-shaped aluminum. Again, I rivetted the brackets to the track and predrilled holes for the screws. I also drilled bigger holes in the track so I could feed a screwdriver up through to drive in the screws.
Installing the Blind
Next cut the blind to fit the track. Most likely the store where you bought the blind will make the cut for you. If not, make the cut using a power miter saw. To be safe, I would not cut the blind until you have the track made. Once the track is made, cut the blind so it’s a half inch shorter than the inside width of the track. This should allow the blind to open and close smoothly without binding.
Then I fastened the blind to one end of the track after cutting a hole through the aluminum for the string to hang down. On the other end of the track I drove 3/4″ screws up through the aluminum channel for the bottom edge of the blind to hook on when in the closed position.
Then with at least one helper, I hoisted the system up andfastened it to the ceiling. When fastening, make sure you are keeping the track square. One way to tell if you are square is to measure from the upper left corner to the lower right corner. Then measure from the upper left corner to the bottom right corner. If you are square, these measurements will be the same.