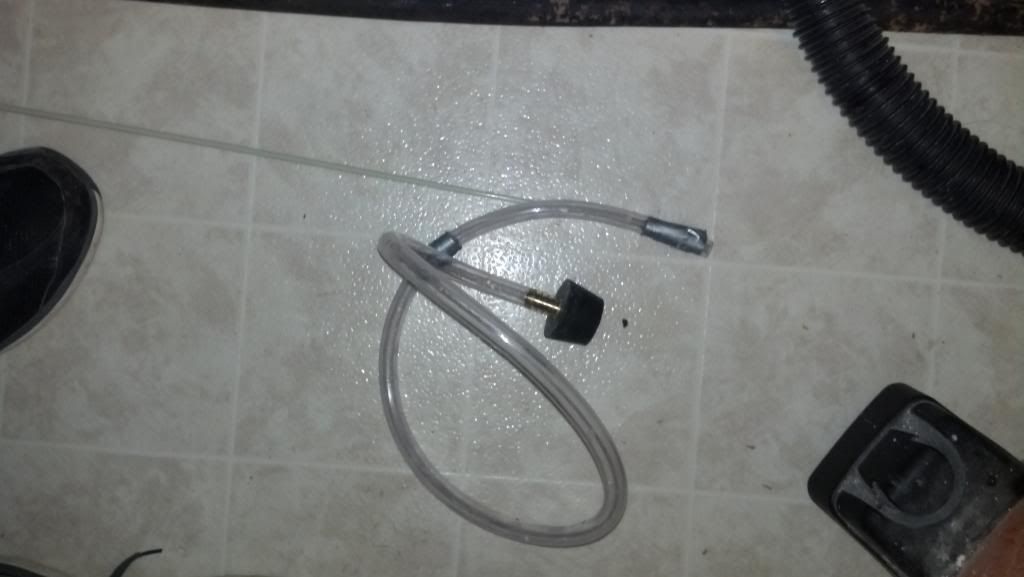
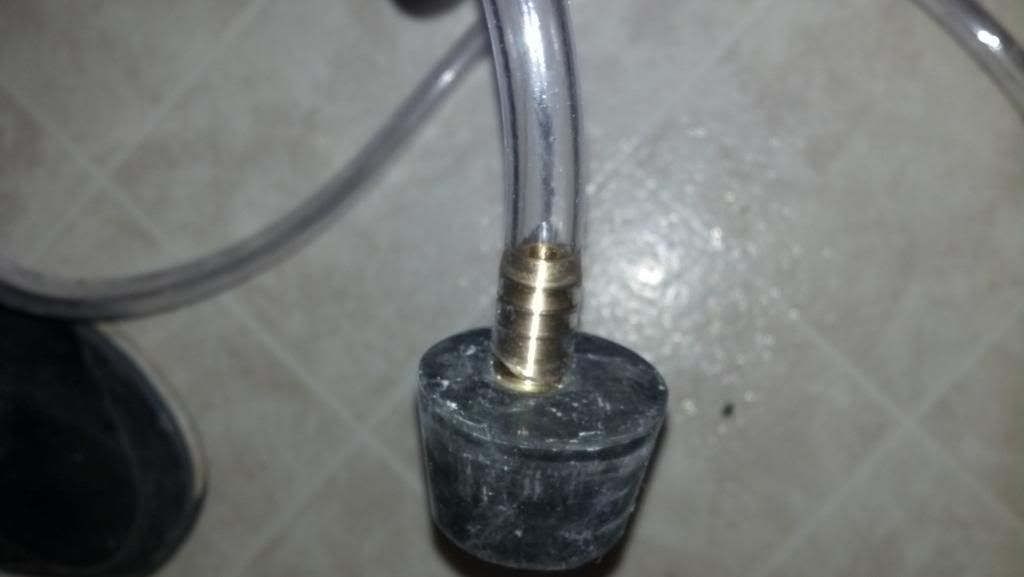
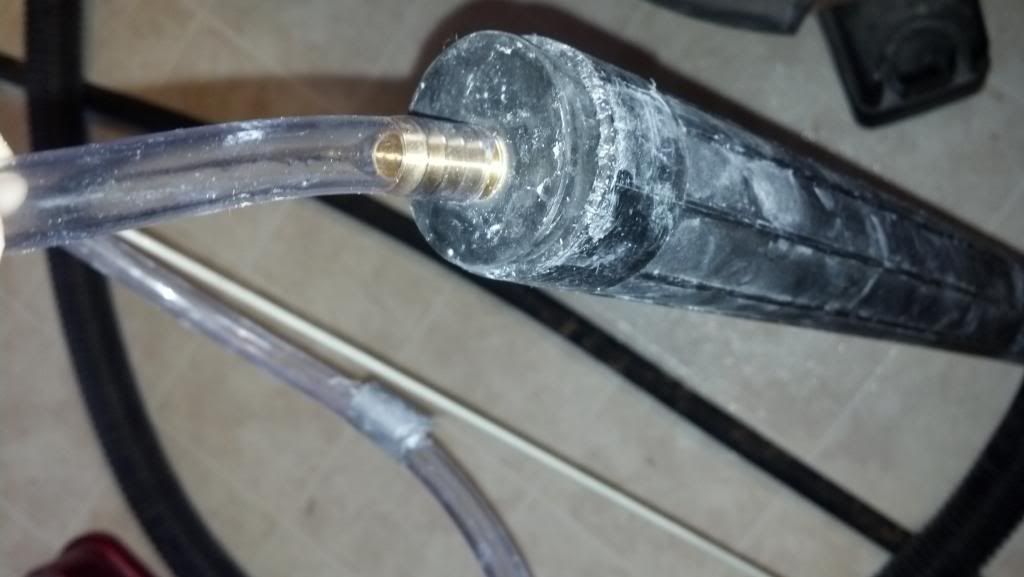
I have been thinking about this for a while and trying to figure out the best way to get all the sediment out of the bottom of the tank. I bought some rubber plugs from lowes, http://www.lowes.com/pd_139554-37672-88 ... facetInfo=. I found one that fit the end of my shop vac hose. Then drilled a hole in it and used a two sided barbed fitting, http://www.lowes.com/pd_77341-104-LFA29 ... facetInfo=. I used a 3/8" ID hose and fitting but I'm going to make up one with a 1/2" ID hose. The 3/8" plugged up a lot. I used some clear vinyl tubing, http://www.lowes.com/pd_443064-104-LSVG ... facetInfo=. But I think I'm going to pick up some of the stiffer plastic tubing, not sure the real name for it but it's a frosted white color and is stiffer then the vinyl but still flexible. The vinyl tubing I had bent to easy so it was hard to position and push it around inside the tank. I ended up using one of my electrical fish sticks and taped the tubing to that to keep it somewhat stiff so I could push it around inside the tank. I use these fish sticks for all sorts of things and they come in handy all the time for uses other then pulling wires, http://www.amazon.com/Greenlee-540-15-G ... +glow+stix. I also found this on amazon and will probably order it sometime since it's only 9 bucks with free shipping, http://www.amazon.com/Micro-Vacuum-Atta ... se+adapter.
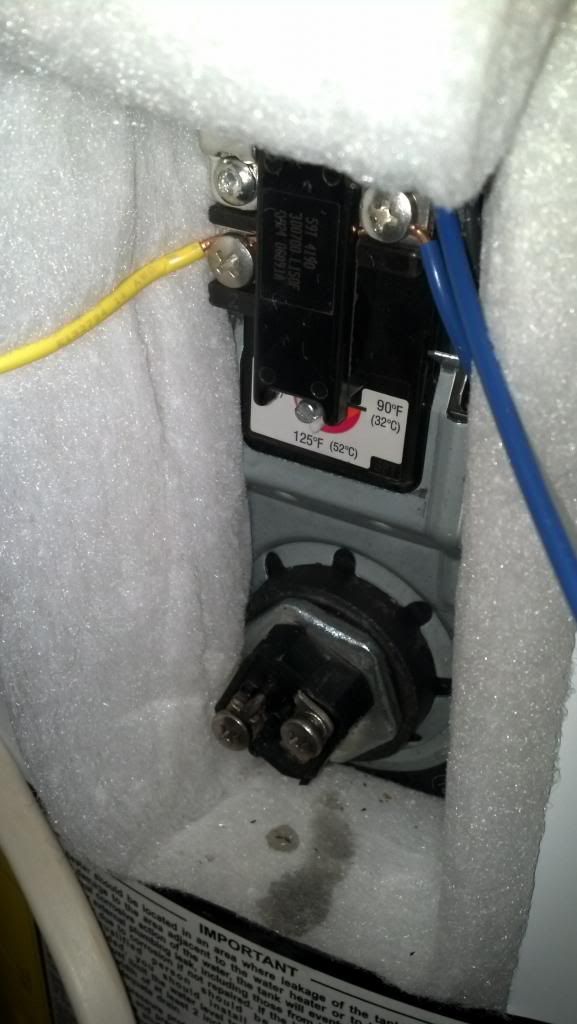
I started out by shutting off power to the water heater. Then testing the water heater to make sure the power was off, safety first! Next I tested the heater elements. Mine has an upper and lower element. From online searching I read that it should be 10-16 ohms on the meter. Mine were just over 16 ohms so they should be good. To test them just set your multimeter to ohms and touch one lead to one screw on the element and the other lead to the other screw, doesn't matter which lead to which screw. My elements had a film or something on them so I'm going to replace them since they are under 10 bucks each.
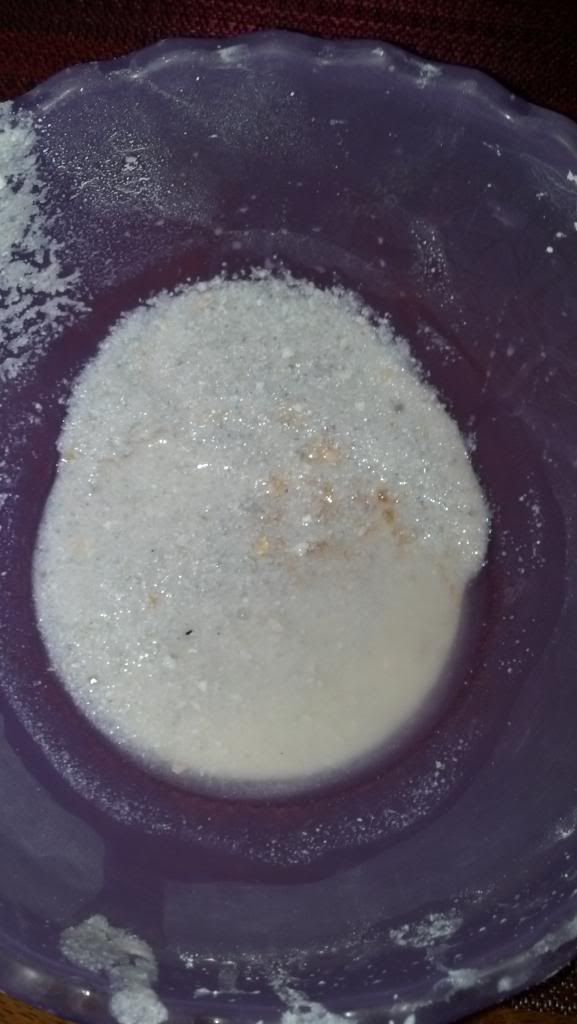
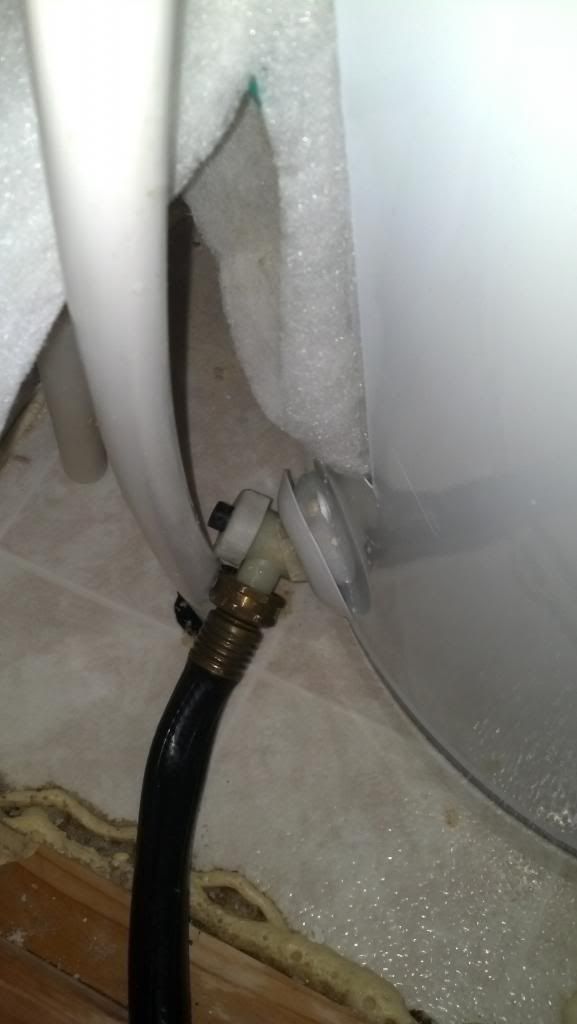
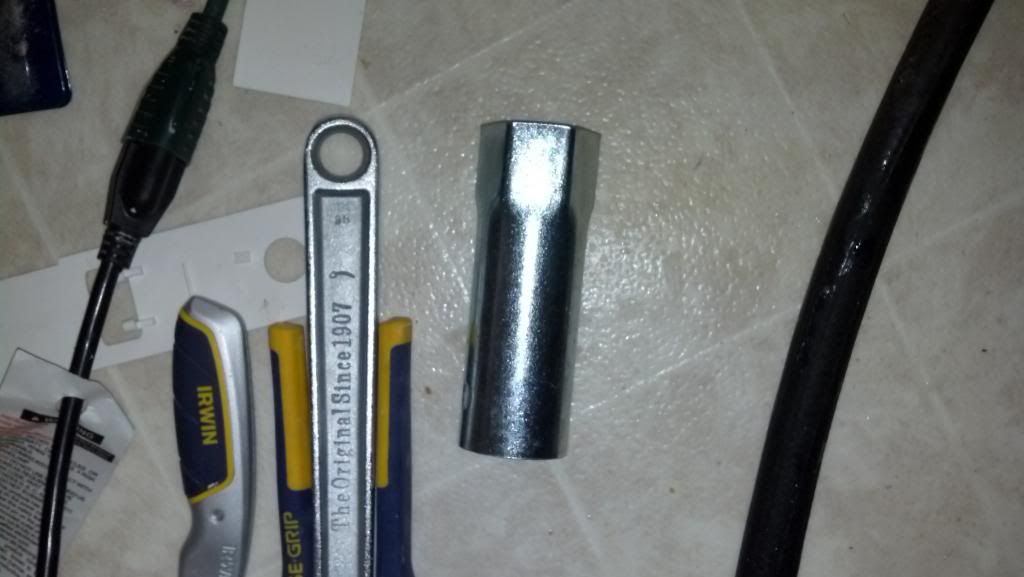
I drained the tank by hooking up a hose to the drain and opening the valve. My valve was plugged and I had to turn the water back on to get some pressure to blow out the clog and let the heater drain. Another thing I need to do is replace that cheap plastic valve on the bottom with a nice valve. After it was drained I unscrewed the elements and took them out. You will need a 1 1/2" socket for this. I have one made for water heater elements and they are about 8 bucks at the store, http://www.lowes.com/pd_159985-135-9008 ... facetInfo=, but any socket should work. Once the element was out I was able to see all the crap in the bottom that just flushing your water heater will not get out. This wasn't just a little layer, it was over an inch thick of crud.
I went to work with my homemade shop vac adapter sucking out the crud by sticking the hose in the hole for the bottom element. It kept plugging up so I turned the water back on a little to keep a little water in the bottom of the water heater which really helped with not clogging, the water helped to push the crud thru the hose. I just kept "poking" the hose down and pulling back up and that seemed to work the best. Spent about an hour with my daughter helping and we finally got it all out. There is still a tiny bit left that I think is clogging the drain valve because I tried to flush some water thru it and I had to fill it to get some pressure to push the last bit out the drain valve. I'm going to drain it again after I buy new elements and I will also replace the drain valve with a nice one that shouldn't clog as easy. Our water is a lot hotter then it has been. I haven't tested if we have hot water longer but with 4 girls in the house I'm sure it will be tested very soon!
Here are some pictures of my homemade tool and the crap that came out of this. Hopefully this helps someone else and you can do some preventative maintenance on your water heater to keep it working at it's best and help prolong it's life span!
Water heater element
Drain valve
Element socket
Hose adapter taped to fish stick
Close up of adapter
Adapter in shop vac
Small part of the crud that I sucked out, there was a LOT more but this is just what I saved for a picture!
