Air Delivery System
With the panel now secured to your wall or roof, next step is to install the parts needed to deliver air to and from your solar heating panel.
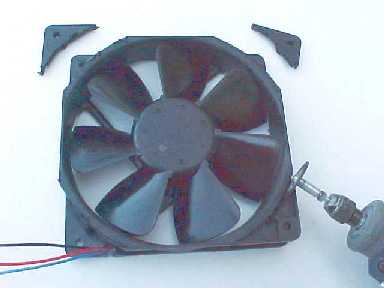
We chose to equip our heating panel with a fan. We used a computer fan and hooked it up to a 20 watt solar panel. Most heating panels will work fine without a fan as the air will move by convection — meaning cold air will enter the bottom and rise out of the top as it is heated. The air may not move as quick, but it will come out much hotter. If you wish to move even more air, then use a squirrel cage blower instead of a computer fan.
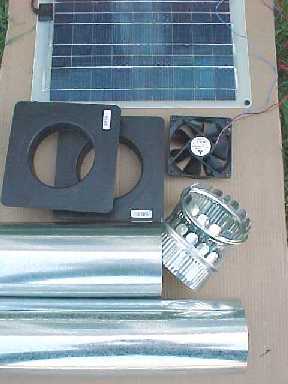
Pictured are most of the parts we used to hook-up our air delivery system. Since we determined that our opening had to be 5″, all the parts are made to fit a 5″ diameter hole. A couple things not pictured would be a trap door to prevent back-drafts at night and a temperature fan control switch. If you intend to build a solar heating panel, some of the parts are available here.
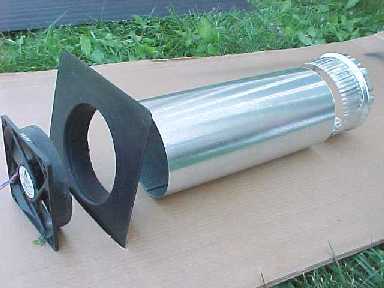 Pictured above is how the pieces would assemble together inside the wall and panel.
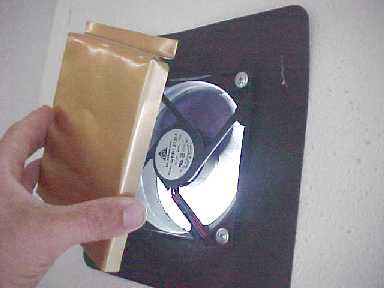
The 4.5″ computer fan would need to fit snuggly inside the wall plate (below) by removing the back flange (below). A rotary tool works great for this project. Doublecheck which flange you are cutting so the airflow blows out. No fan is needed for the air inlet (same parts less the fan).
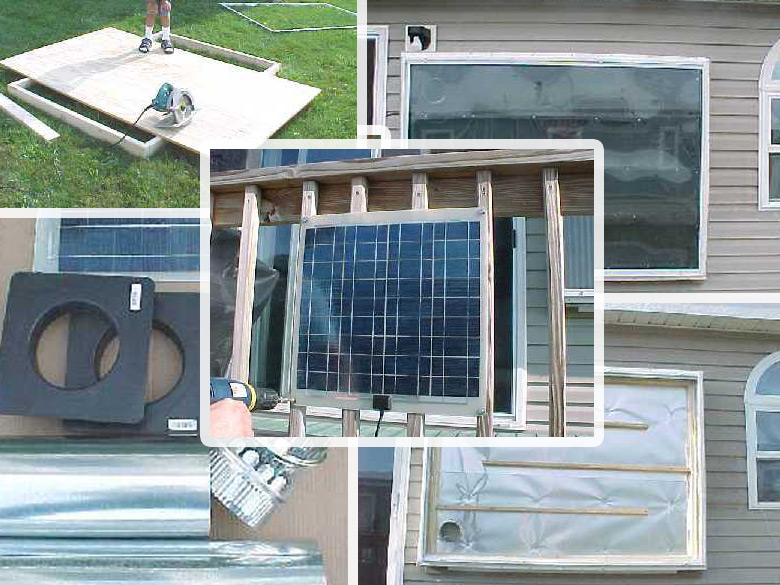
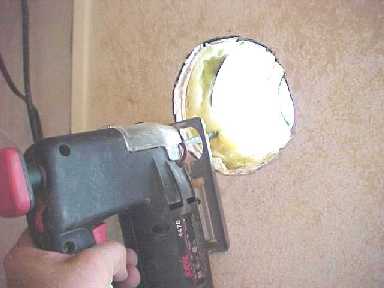
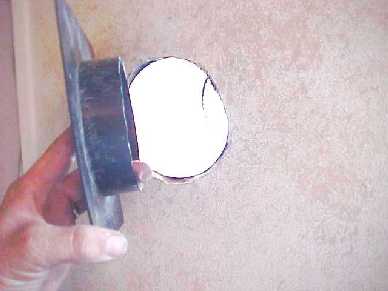
Cut your 5″ hole through the wall using a 5.25″ hole saw bit in your drill. If you don’t have such a bit available, use a jig-saw or sawz-all to make the cut.
Measure the distance from the panel to the wall. Add the ear’d connector to the ductwork and slide through hole.
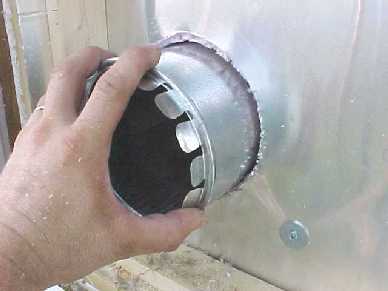
Seal around the duct with silicone and bend the ears over to secure in place.
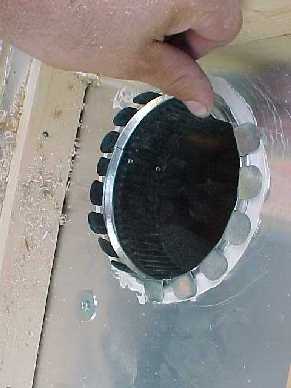
From the inside, add wall plate for a finished look. Secure plate to wall with screws.
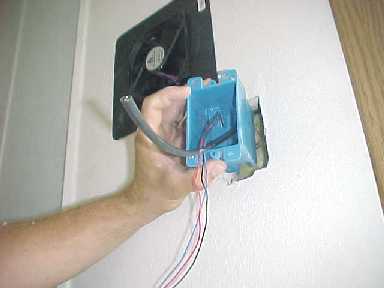
Insert the fan into the wall plate and mount the whole assembly into wall and fasten with screws. Next we added an electrical box next to the fan for an on/off switch. Run the wires from the fan to the electrical box.
Add the Baffles
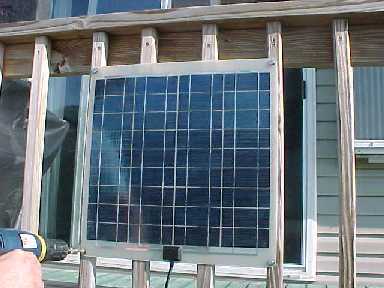
Mount the 20 watt solar panel so it faces south and receives full sun. Run the wire through the wall of the house and into the electrical box. Operating your fan with a solar panel makes your heating panel/collector more efficient because the fan will slow or stop on cloudy days keeping cold air from circulating into your home.
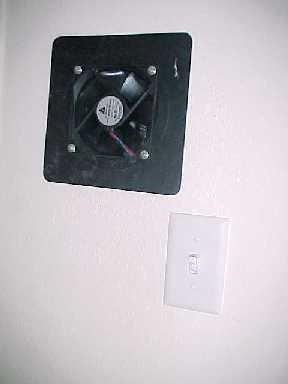
Finish wiring the switch and screw on the switch plate. Flip the switch and the fan should run if its mostly sunny outside.
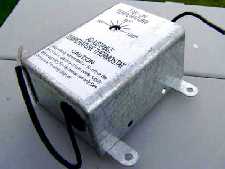
Another option would be to replace the switch with a temperature fan controller (below) so it only comes on when the temperature in the panel is 80 degrees or hotter.
We molded a trap door out of a scrap piece of aluminum. The door is light and easily swings open when the fan is activated. When the fan shuts off, the door closes preventing a backdraft which would reverse the air flow and cool air back into the home.
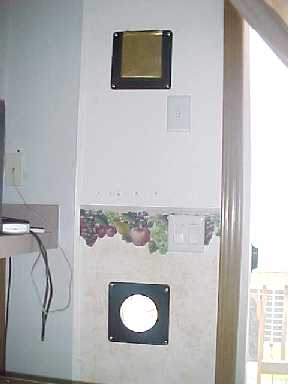
Once the air delivery parts are installed, you should have a very clean, professional look on the inside. Add a filter to the bottom air inlet to stop any dust particles from entering the panel. When you no longer require solar heat, the air inlet at the bottom should be sealed with a plug made of foam or insulation.